Have you you ever been the lucky recipient of a truly beautifully-wrapped present? Beautiful gift wrapping is an art that elevates the experience of giving and receiving presents. A skillfully and artfully wrapped gift not only shows thoughtfulness, but also builds anticipation. Step up your gift-wrapping game this holiday season and really wow people with these tips and tricks from More Than Paper. Regardless of what’s inside (though we believe thought and care should be placed in that, as well), with these tips your gift packing will really stand out and delight!
Step 1: Gather Your Supplies.
2. Measure and Cut Your Wrapping Paper
To avoid waste and ensure your gift looks neat, follow these steps:
- Wrapping paper: Choose two to four holiday wrapping paper designs that coordinate. They should have a similar style, feel, and complement each other. If you’re giving multiple gifts, this is especially important, so that they coordinate.
- Consider reusable options like fabric wraps or gift bags for an eco-friendly touch.
- Scissors: Sharp scissors will give you clean cuts for a polished look. Investing in a good pair of scissors will pay off in the long run.
- Tape: Use double-sided or Scotch gift wrap tape for a seamless finish. You can also add decorative tape for added flair (though that can get expensive so you may want to use sparingly).
- Ribbon: Choose ribbons in varying widths, patterns, colors, and textures to add dimension to your final packaging.
To avoid waste and ensure your gift looks neat, follow these steps:
- Measure: Place your gift box in the center of the wrapping paper. Pull the paper up on both sides to see how much you need. A good rule of thumb is to have about 2 inches of overlap.
- Cut: Use sharp scissors to cut straight lines. If you’re using patterned paper, ensure the design is aligned correctly before cutting. Some wrapping paper will have lines on it to guide for straight cutting. (We like those best!)
- Center the gift: Place the gift box face down in the center of the wrapping paper.
- Fold the sides: Bring one side of the paper over the box and tape it down. Repeat with the other side, making sure the paper is taut but not stretched.
- Fold the ends: Now, fold in the two ends. Start by pushing the sides inward to create a triangle shape, then fold the triangle down and tape it securely. Repeat on the other end.
- Pro tip: If you have a piece of wrapping paper left over that doesn’t quite fit, turn the box on the diagonal and it will work to cover the box!
- Basic bow: Cut a length of ribbon and secure it around the gift. Tie a bow on top, adjusting the loops to your liking.
- Multiple ribbons: Use different ribbons for a layered look. Start with a thicker ribbon, then add thinner ones on top for texture.
- Creative accents: Consider using natural elements like twine, dried flowers, or pinecones for a rustic feel.
- Consider adding small ornaments that complement the wrapping paper.
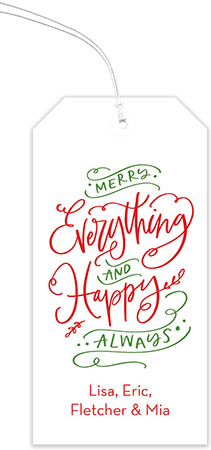
Gift tags are a perfect way to add a personal touch. Here are some of our favorites this season ranging from modern and whimsical to a more traditional approach.
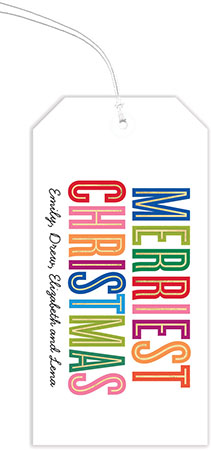
- Colorful Gift Tags: Add a happy and colorful tag to your gift wrap like this one shown here. A set of 24 are usually $27 and now on sale for 20% off.

- Christmas Colors Hanging Gift Tags:
- Merry Everything and Happy Always: We love this sentiment that covers so many bases!
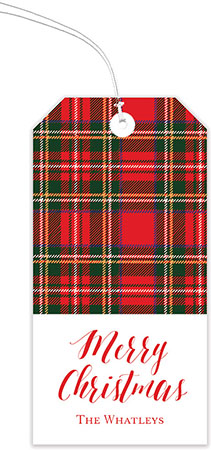
- Holiday Plaid: Choose a more traditional look with this design shown here. Also 20% off right now!
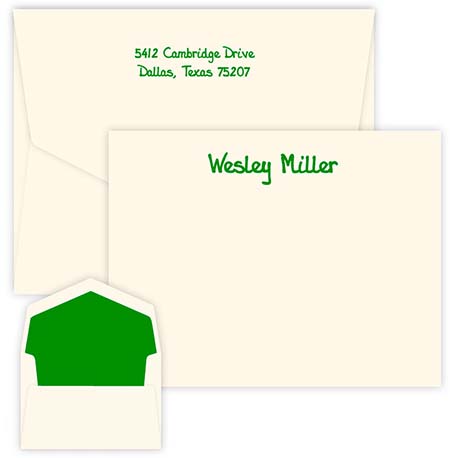
For a unique gift giving experience, consider writing a brief note to the recipient for the holidays on your personalized stationery, like this one! Taking the time to write a thoughtful message of holiday wishes will really show love and effort.
- We love gift enclosures for an extra formal and festive touch, such as these! Choose your personalization, typestyle, ink color, and optional motif for a truly custom gift enclosure.
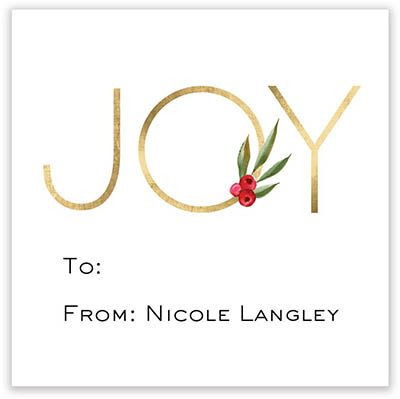
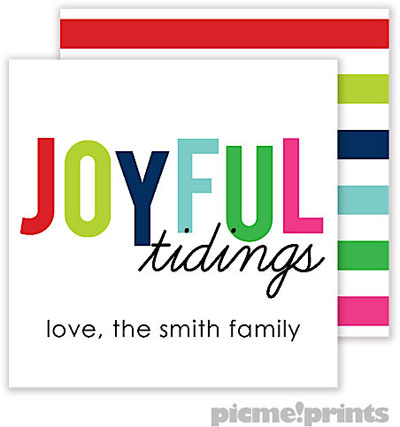
- These gift enclosures make gift giving extra special. We’re also big fans of this colorful gift enclosure by PicMe Prints.

No comments:
Post a Comment